-
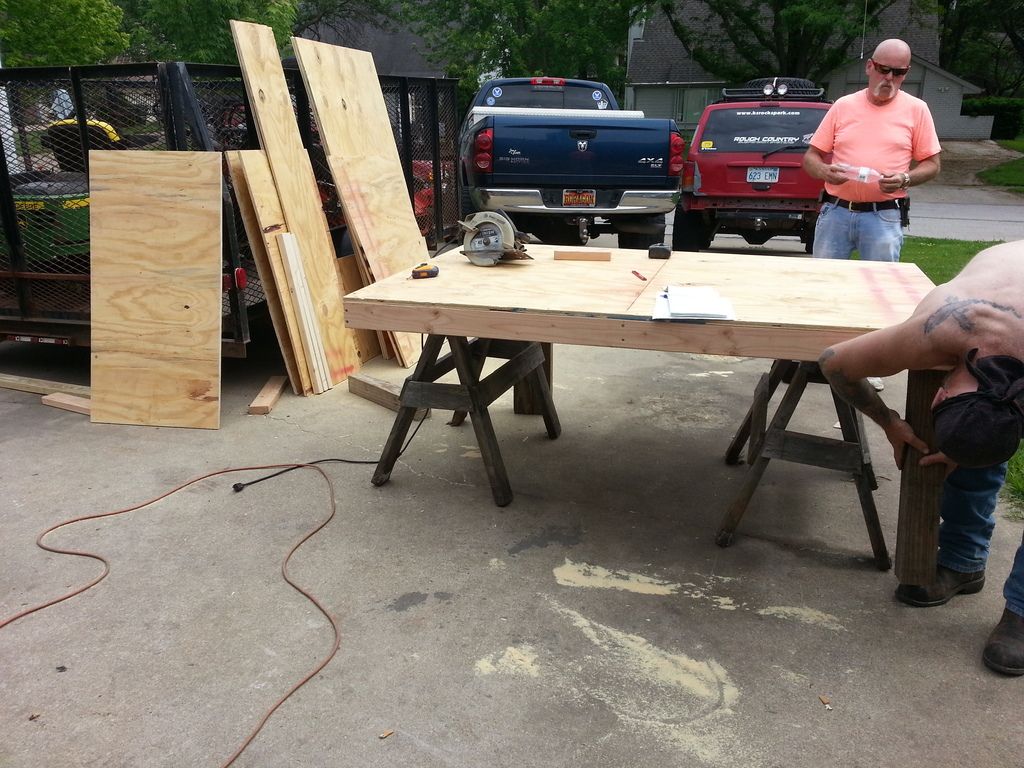
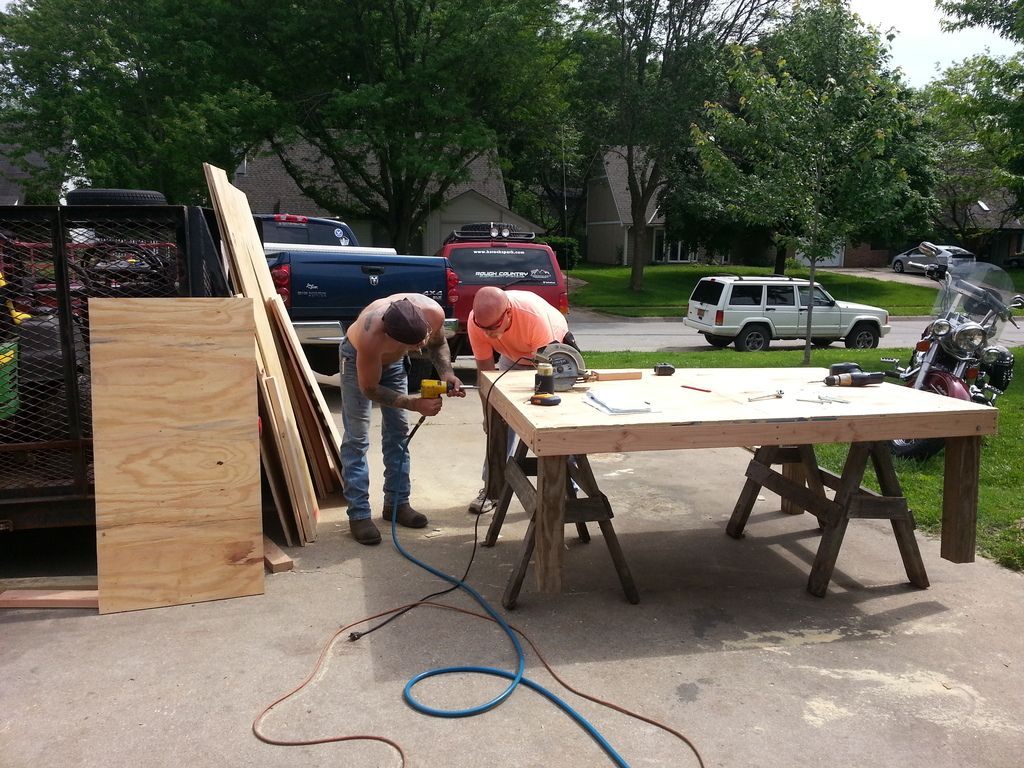
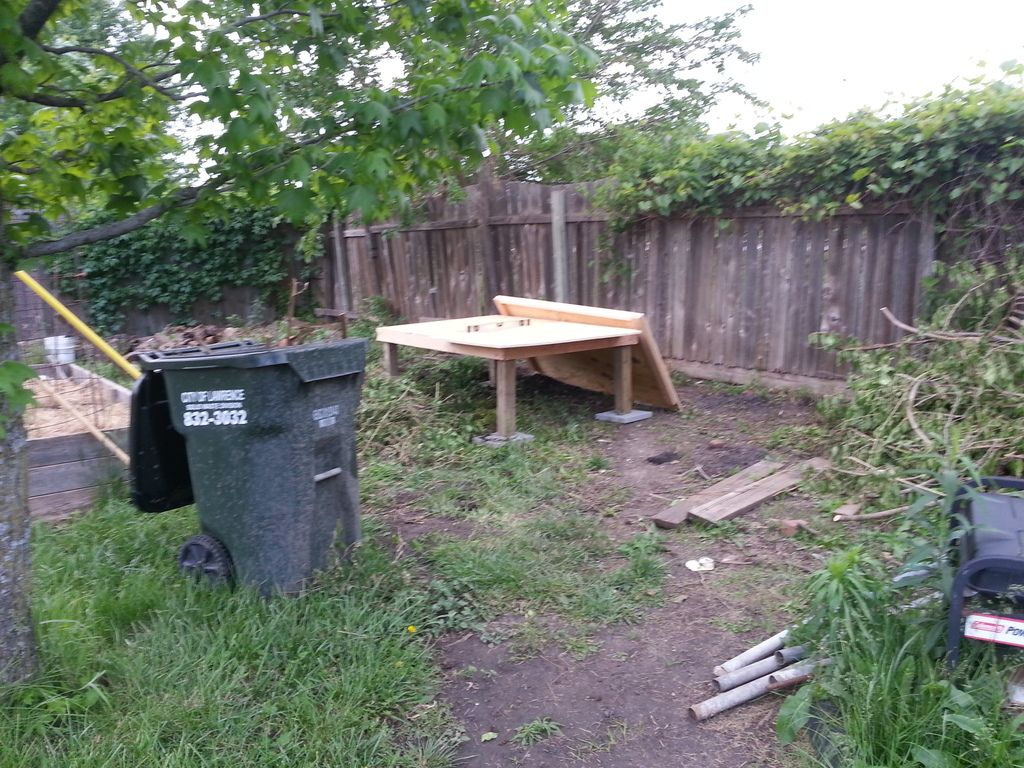
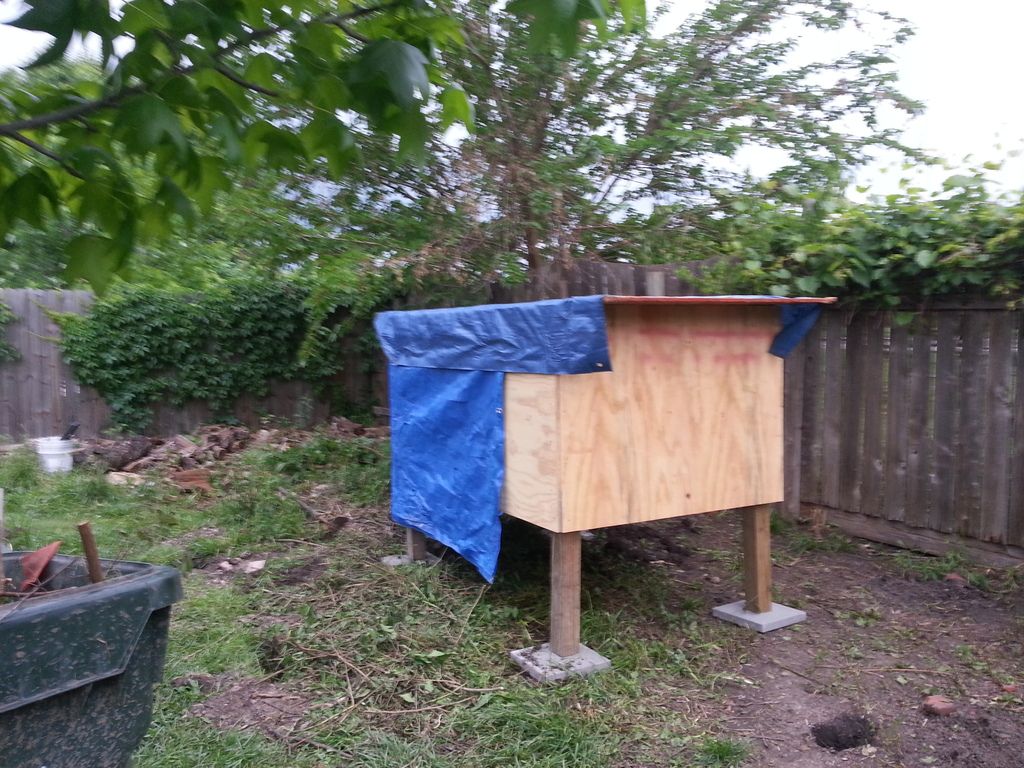
Chicken coop build started today
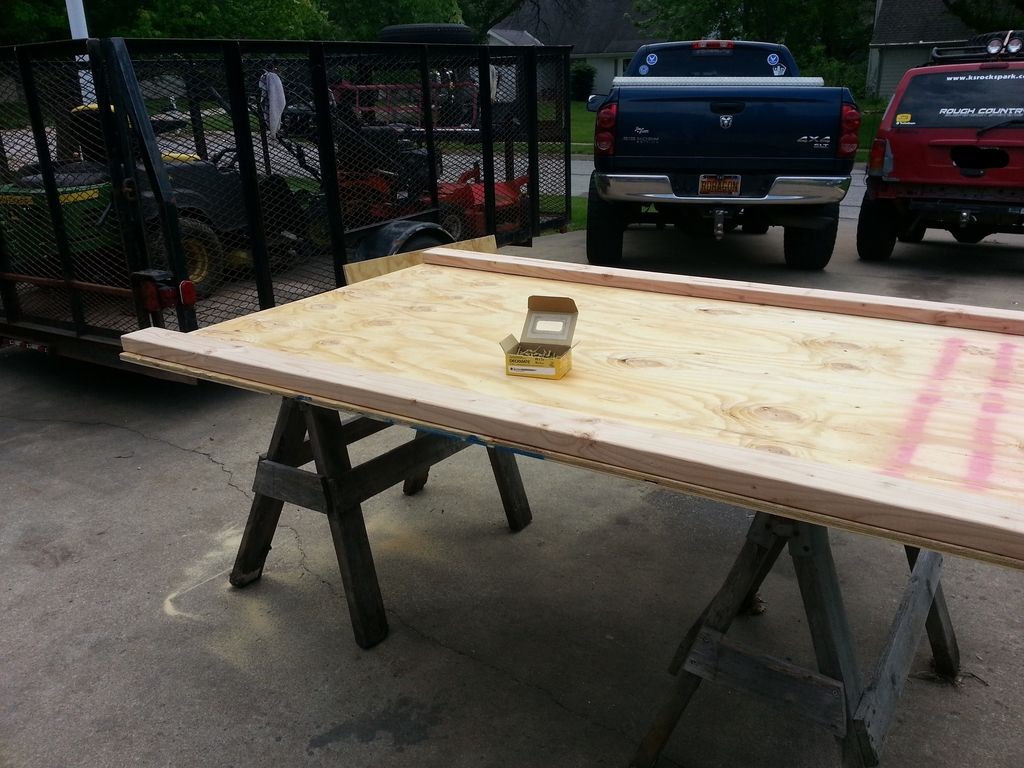
Papa stopped by to check it out. So glad he did, as he was a huge help when the "plan" we're using turned out to be incomplete and pretty piss poor directions. Lots of modifications/additions/re-measuring needed.
Backyard placement
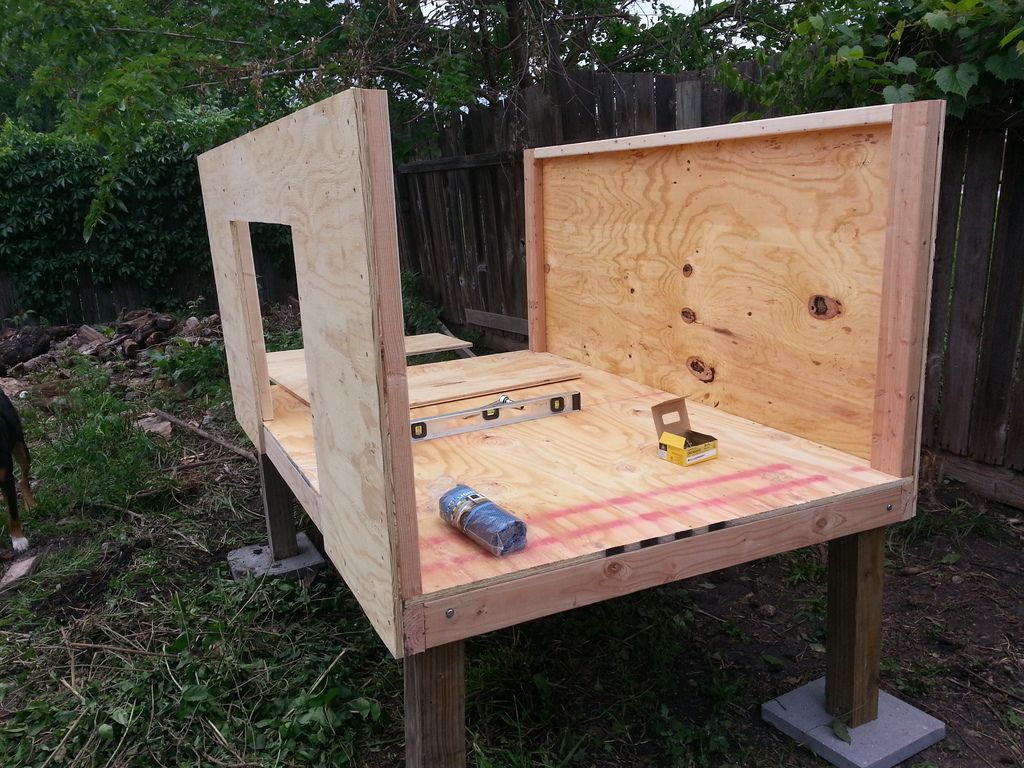
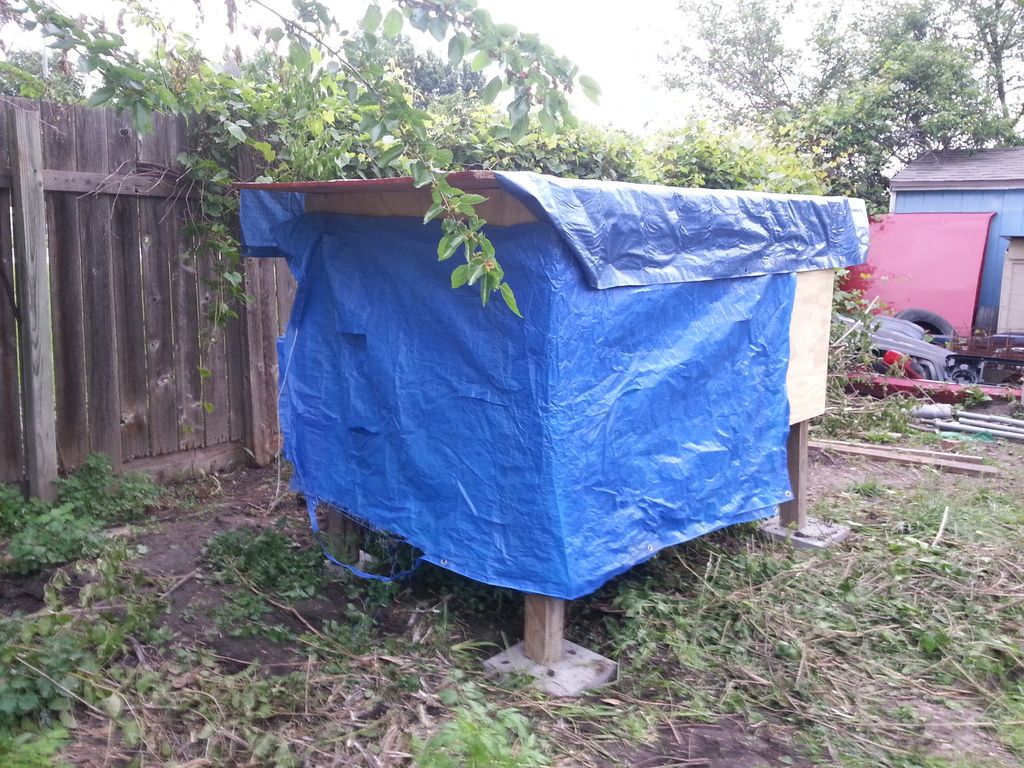
Nasty storm front was rolling in, so had to stop for the day. Wrapped to protect.
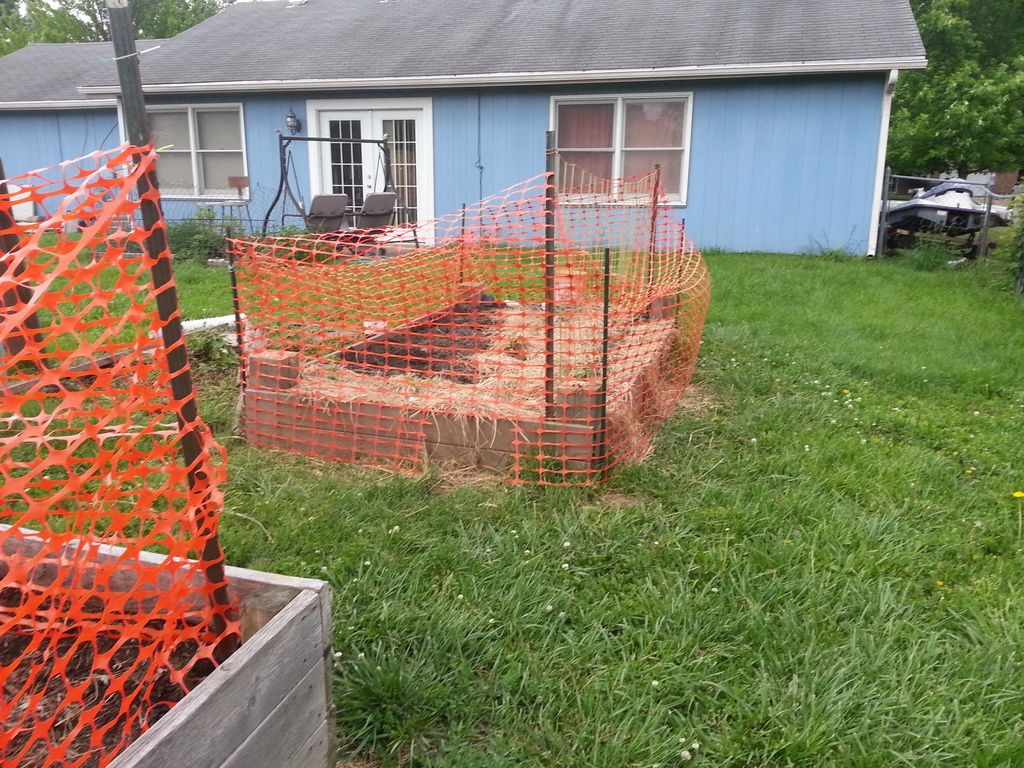
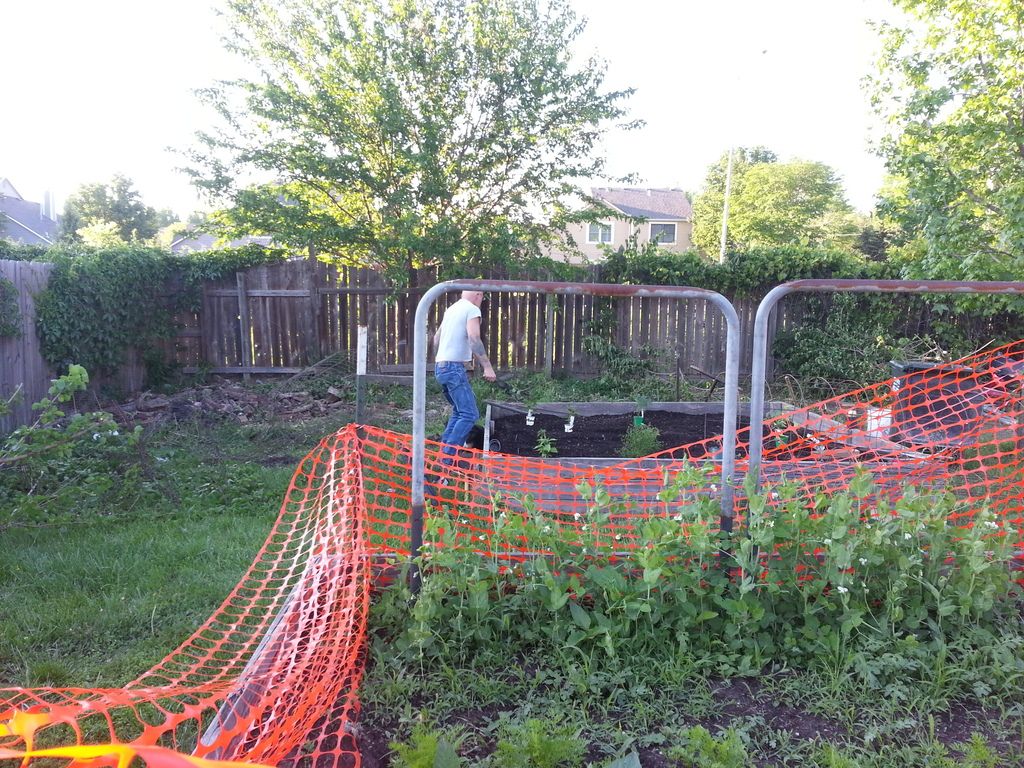
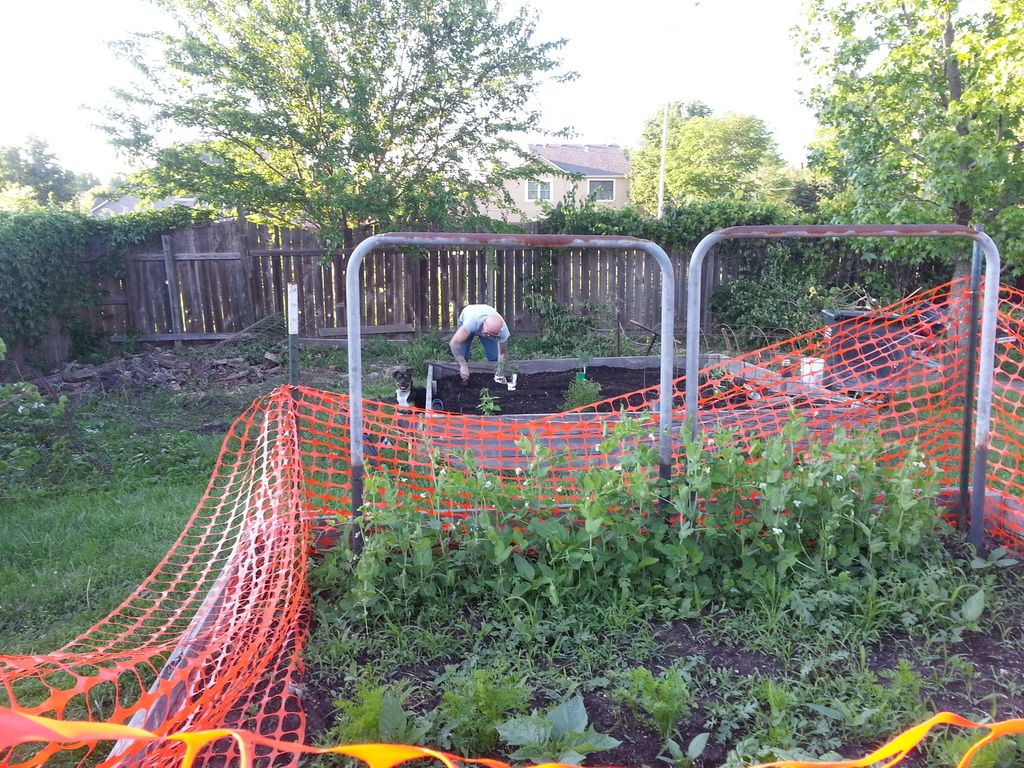
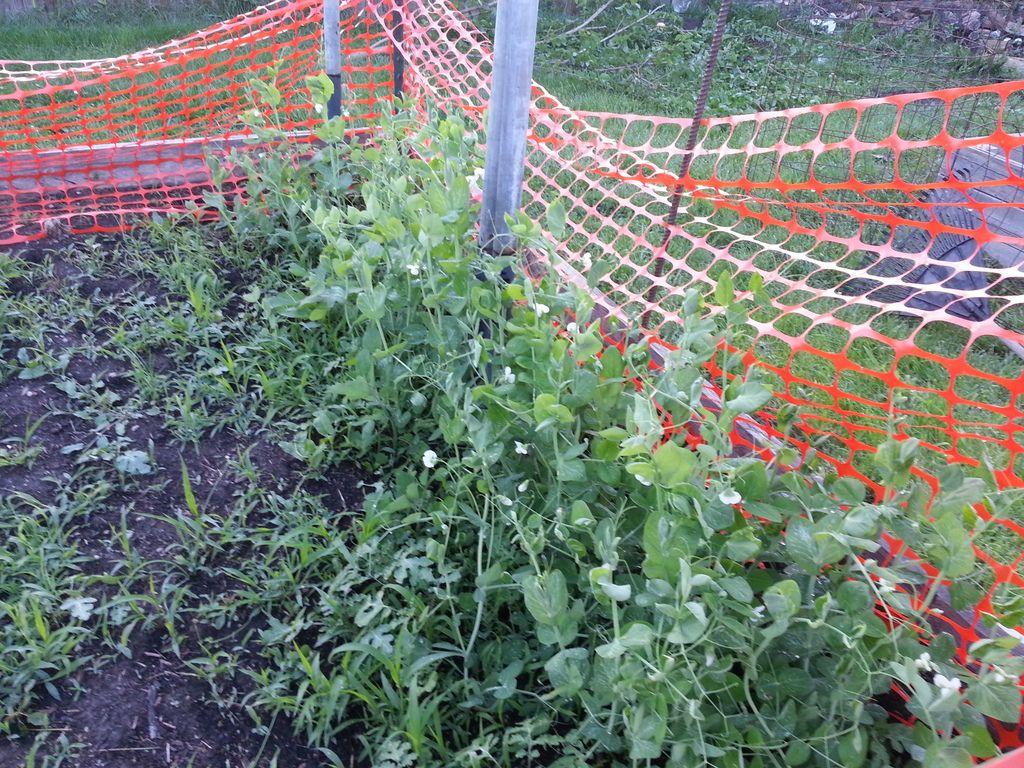
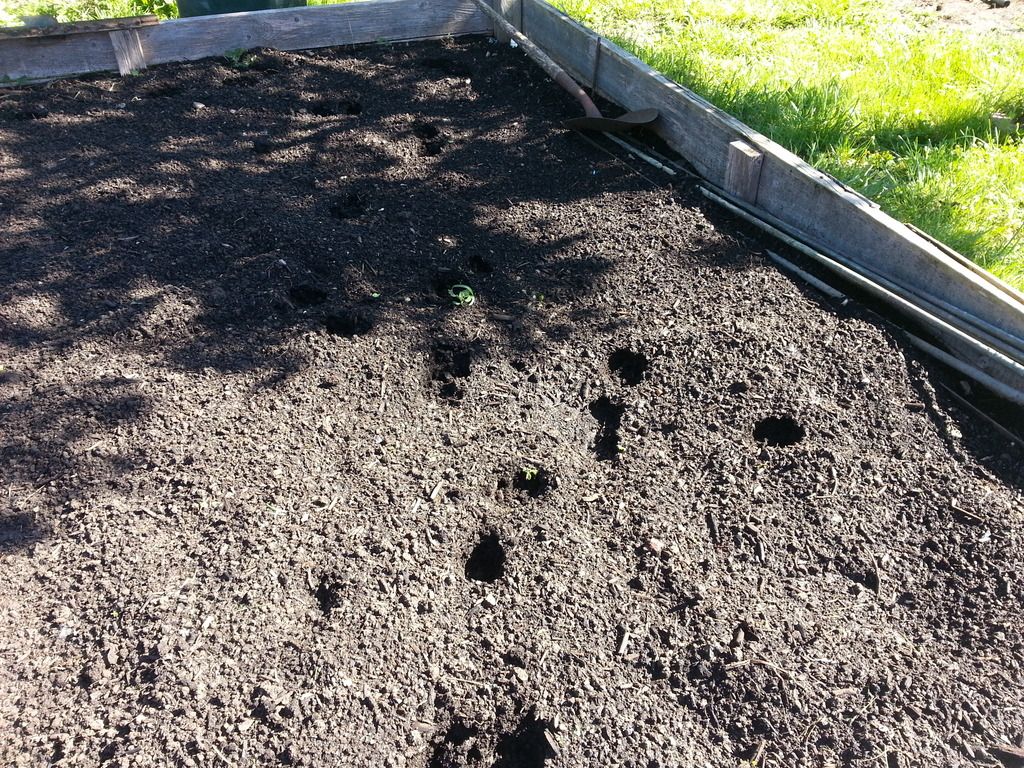
Here's the new bed "fenced" in to keep the dogs out. Amazing how destructive dogs can be without even trying.
They broke over half of the beans.
There's also a stevia plant and an eggplant in there now too.
Leave a comment:
-
I guess that I have to remove the "slacker" title from your name. You've been busy! Looks great. I hope that you have better success with chickens than i did.Leave a comment:
-
Actually I've found out that all the houses on our side of the street have, to varying degrees, the same problem. There is also concrete slag mixed in there all on the same strata. We're pretty sure the developers used construction slag/trash as fill.
Prior to being developed into a city/town/suburban/whatever neighborhood, this was farmland. Our side of the street was the last area in the entire neighborhood to have houses built. Our house was started in late 1981 and finished in early 1982, houses on the south side of the street are at least 10-12 years older.Leave a comment:
-
parts of the front of the house are brick, so when we found them a few years ago when we were doing the planting beds we figured they were lazy so they just dumped them into the yardLeave a comment:
-
Gwyn, I am thinking the bricks in the postholes may be from the sides of an outhouse hole or an old well. Do you know the layout of the yard before yall lived there? There could be any number of reasons for the bricks being where you found them, but outhouses were always toward the back of the lot, which is why I thought that.
TexLeave a comment:
-
I will suggest you invest in a digging iron. It's a 6 ft long piece of solid steel with a slim flat blade at the end. Excellent for breaking up clay, shale, limestone - or brick. You throw it down into the hole - don't hang on, if there's solid rock down there or your arms will vibrate for a couple of hours. It's one of my favorite tools - at it's the right length for me to use it like a martial arts staff, too.Leave a comment:
-
LOL, I wish!
The houses you can see past the back fence are actually on the OTHER side of a divided 4-lane major arterial street. Ugh.Leave a comment:
-
You actually live in a real house and by the looks of the neighborhood you may even have running water!
JR said you guys lived like hillbilly's so out in the sticks and had to get water from the "crick"Leave a comment:
-
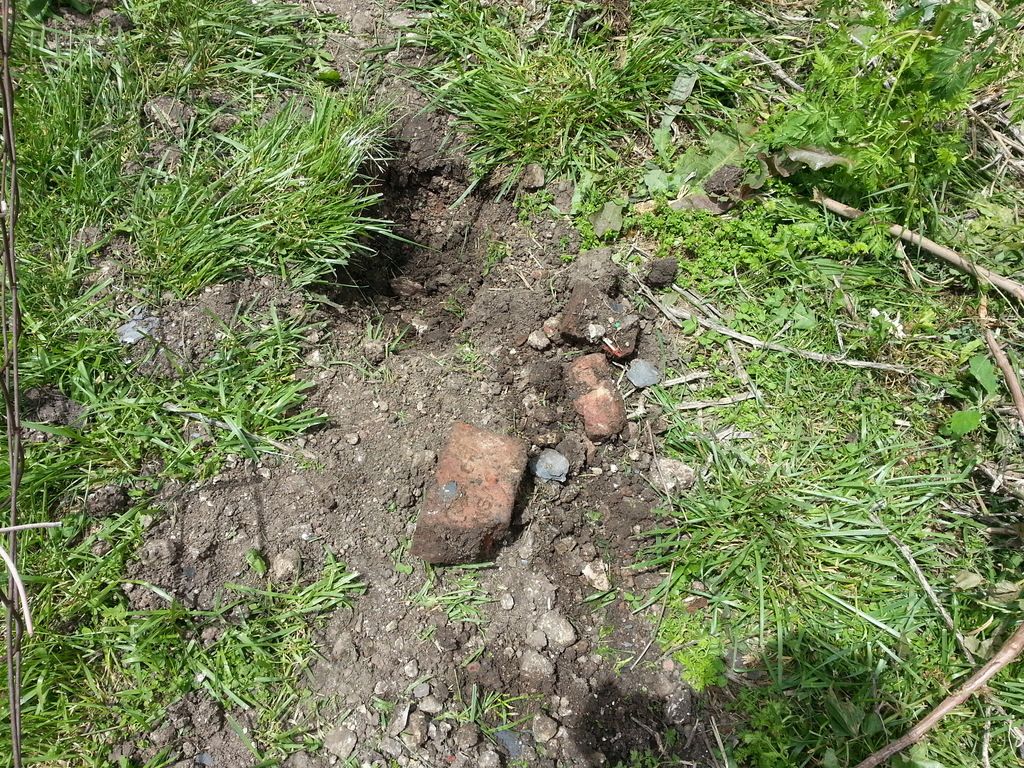
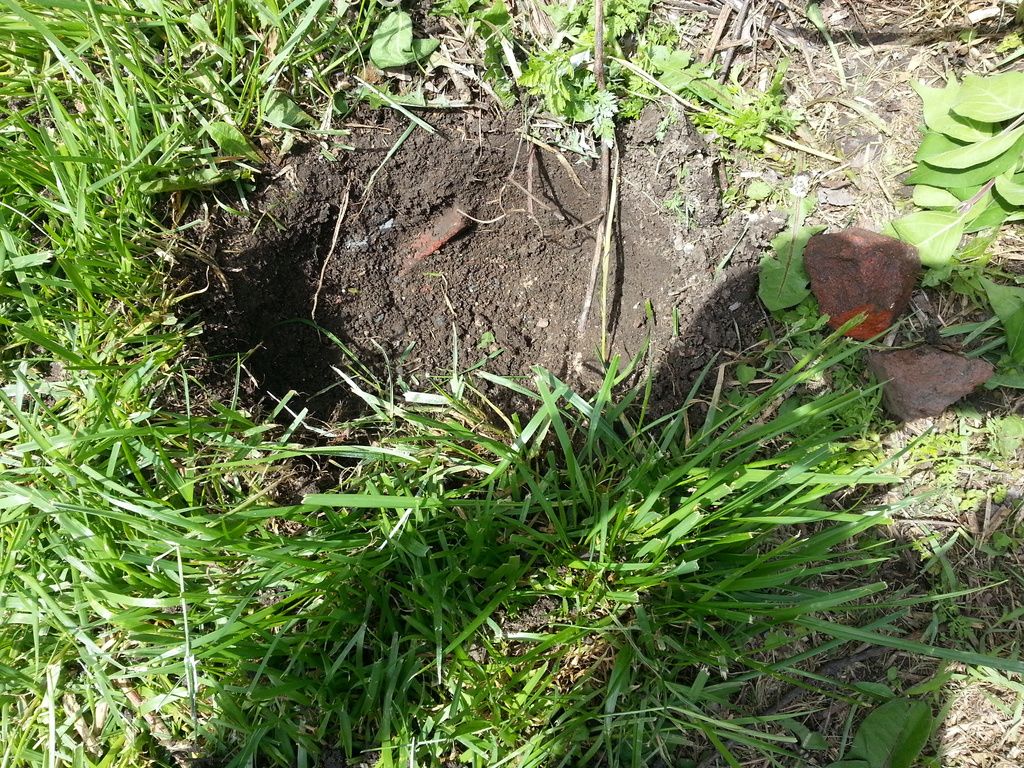
Unbeknownst to me, RD had pulled out a pick mattock and broken up several bricks in two of the post holes for me.
With that, I was able to finish those two holes and also dig the remaining two. For a total of nine, all done manually.
Here's more of what I found while trying to dig those holes
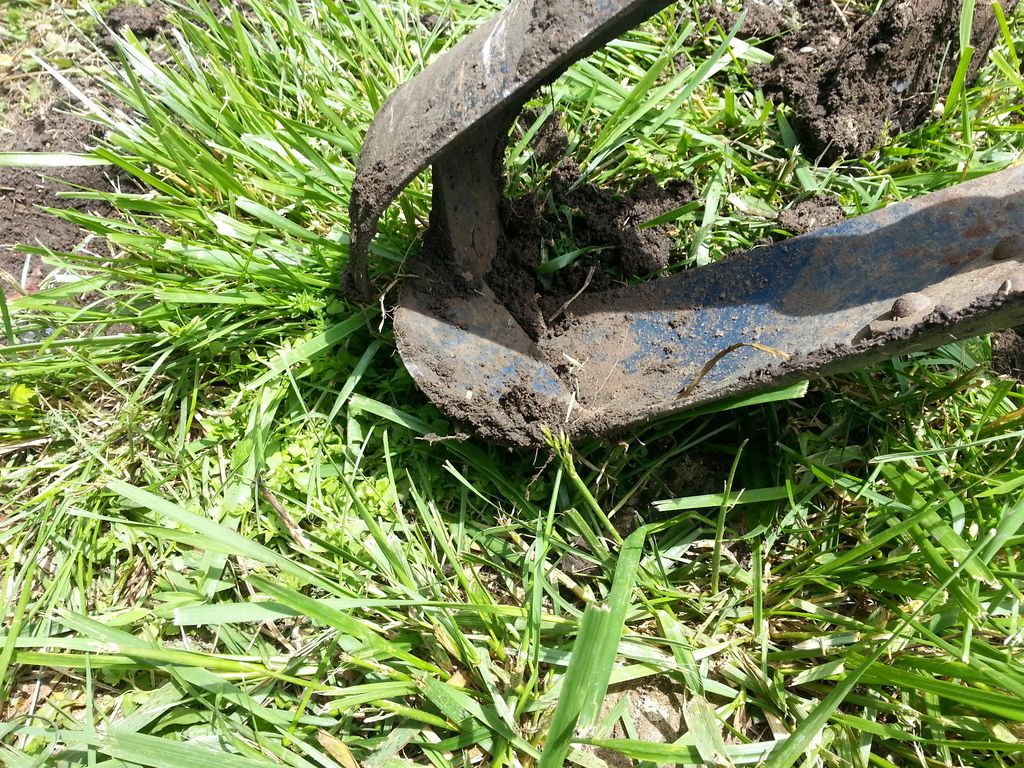
Here's the post hole auger I used, the pick mattock, and what came out of the last hole. It's a little difficult to see, but the bluish-gray tinted stuff in the dirt is actually blue shale flakes. It would be worth some money if it was whole pieces instead of just flakes.

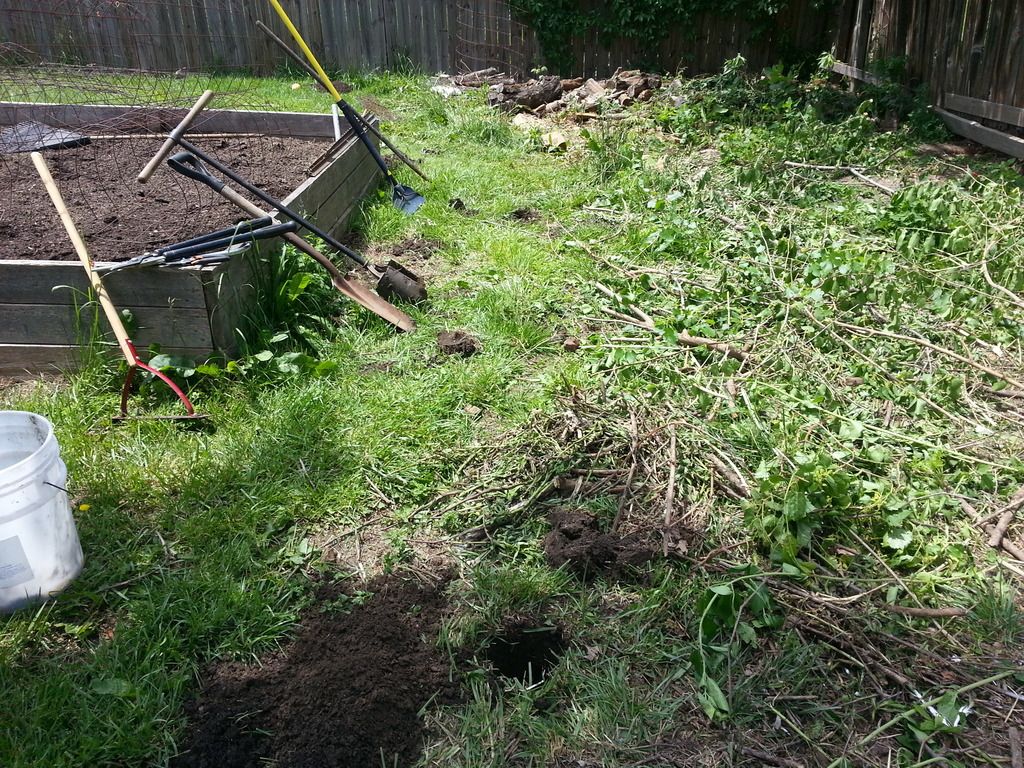
I did a bit more on Thursday, in between rain squall lines. Mostly some more weeding in the South bed and added most of the paper and hay needed to the North bed. RD finished the North bed, including putting up most of the cages. I'll take some pics of that once I put on my chore boots to slug through the mud swamp at the side of the house to get back there.Leave a comment:
-
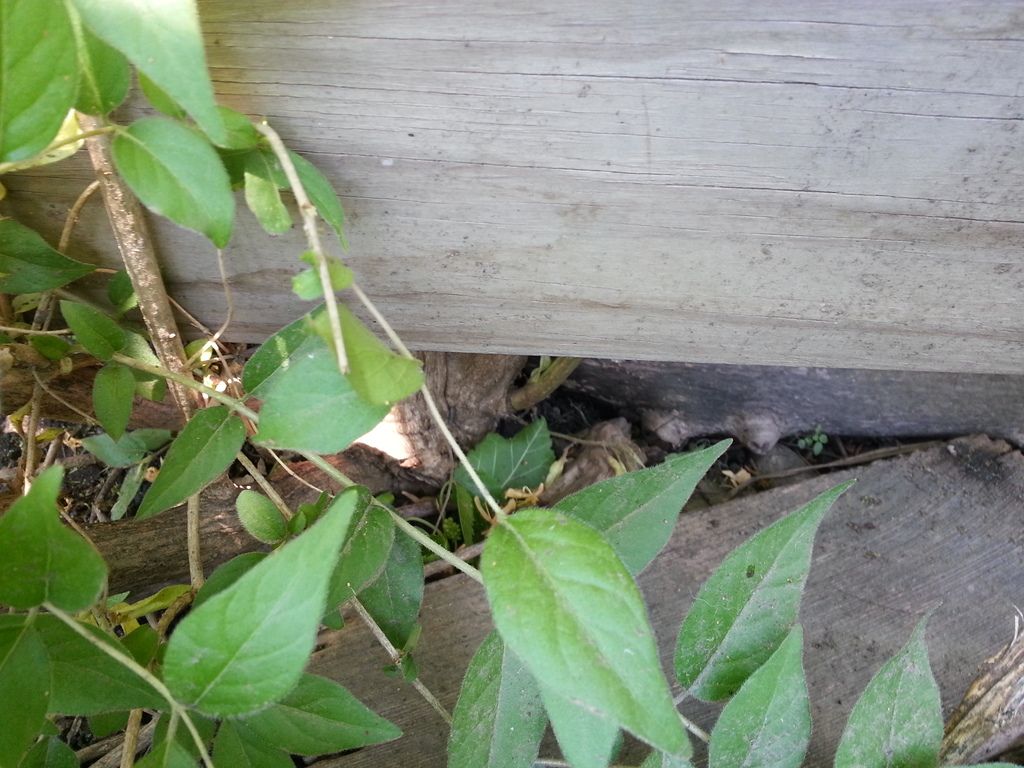
These next pics are from Tuesday evening. You can see in the far background how much "cleaner" the mulberry tree and fence line are. The mulberry was being overtaken by a combination of honeysuckle vine, grape vine, Virginia Creeper vine, and some kind of weed vine that is VERY sticky. I spent about 3 hours snipping, cutting, lopping, sawing, and pulling to get it all out of there.
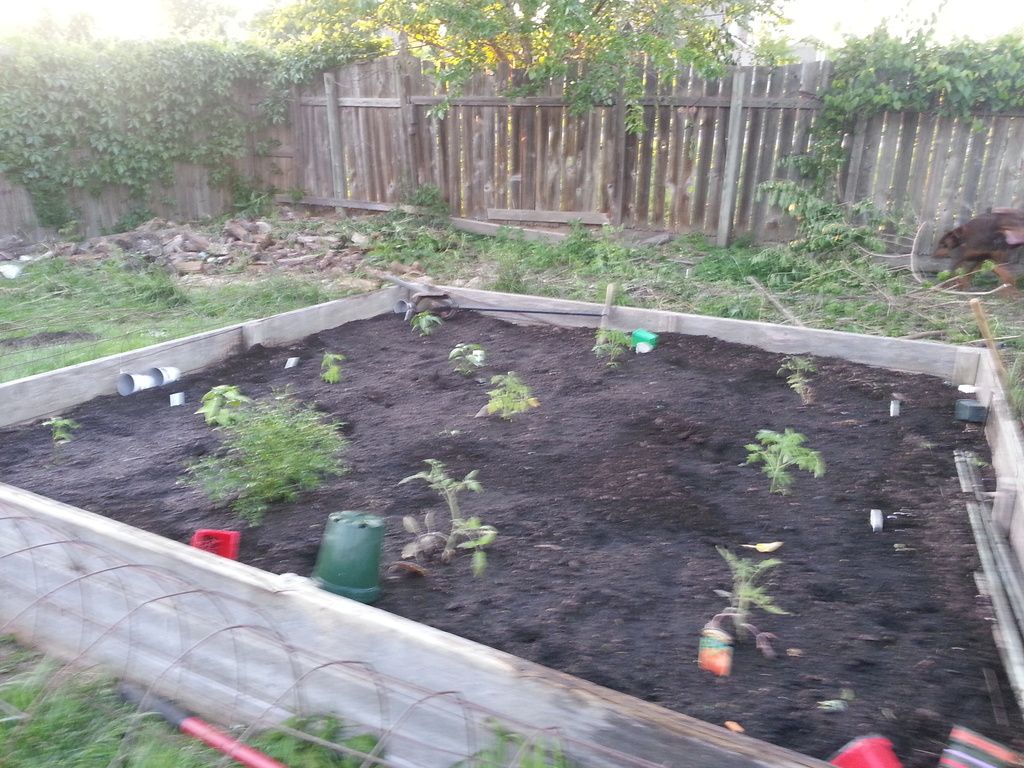
RD is putting his tomato and pepper plants into the ground of the North bed.
And there's Raven keeping him company
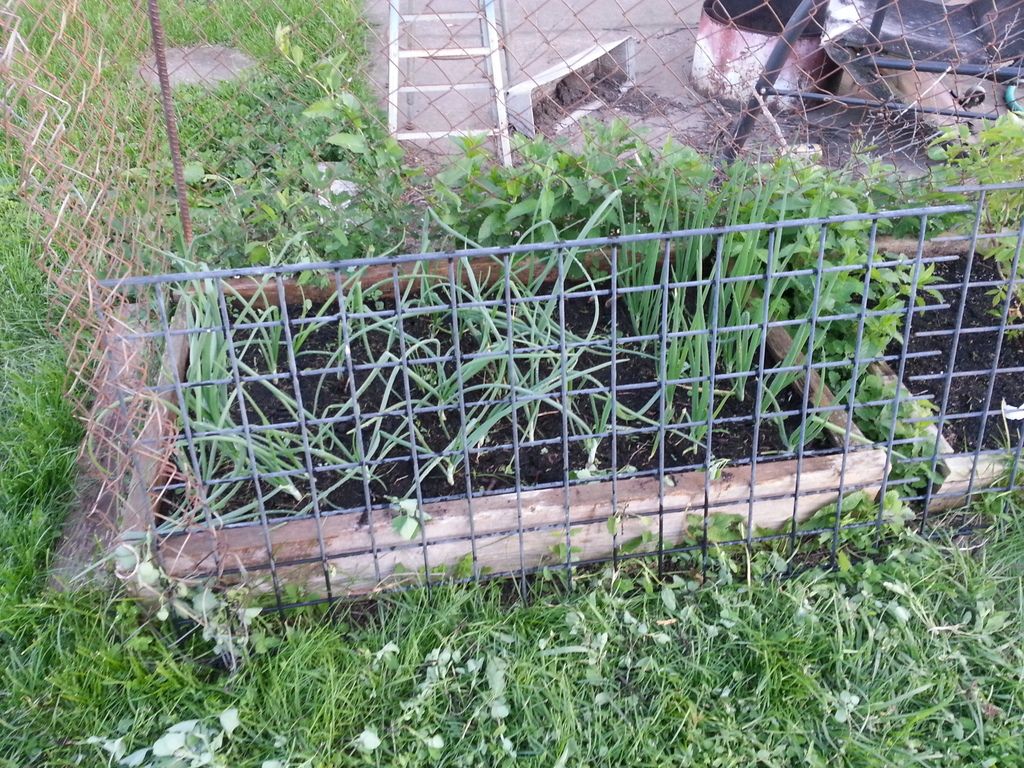
Here's my very small onion bed. Back left are reds, front left are yellows, and on the right are the walking onions I crowed about getting at the local seed exchange. Peppermint and Spearmint are at the outside back and in between the bed boxes. Tough plants, they survived being completely dug up, and I thought killed off, by the dogs to come back this spring.
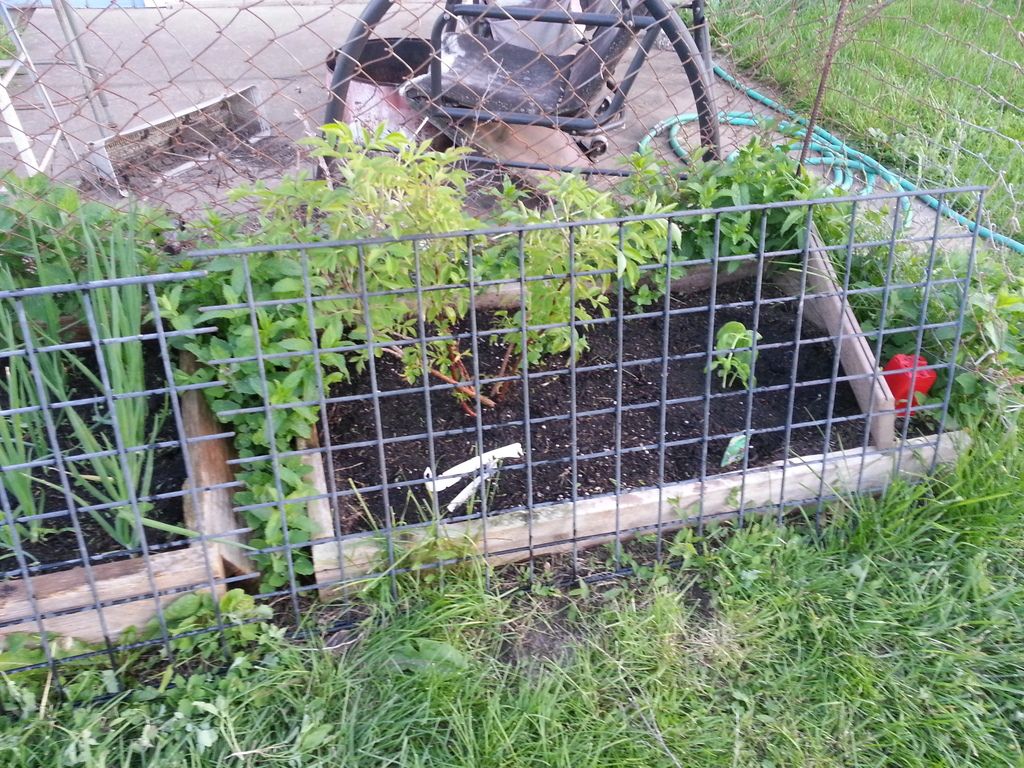
Here's my elderberry and one lonely basil plant
Here's the new bed, planted with pole beans (a family heirloom developed by A's Grandfather), sweet potatoes, and an heirloom straight neck squash.
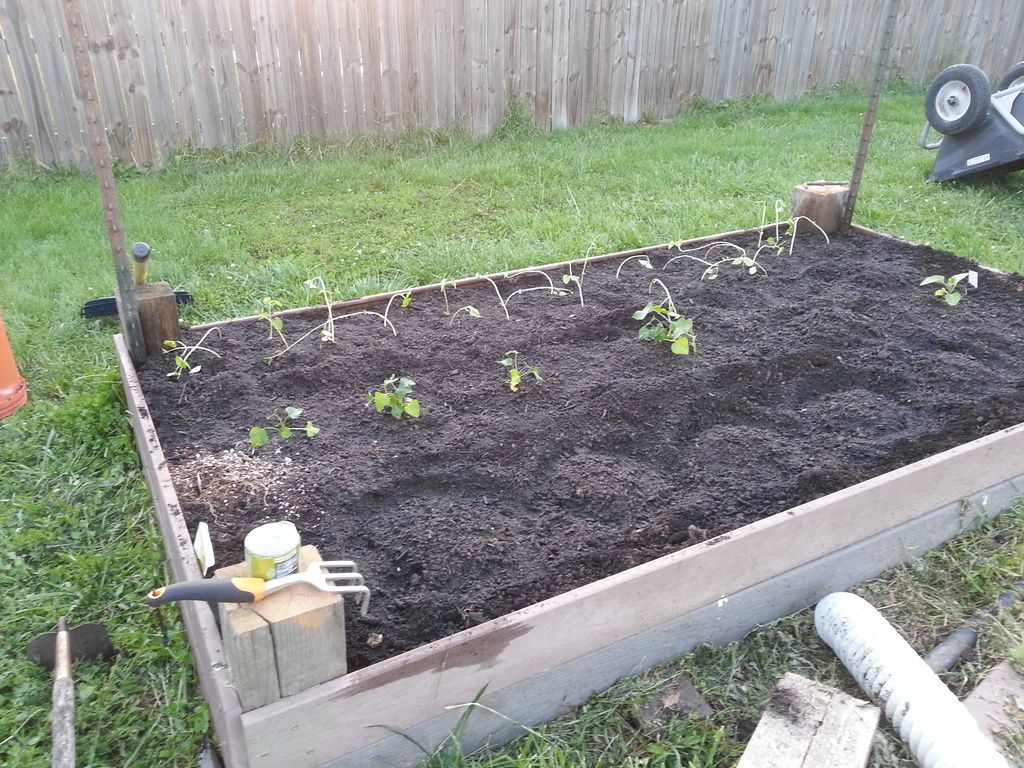
Heirloom Waldo and Alaska peas going crazy
The North bed planted, but before paper and hay is put down to help control weeds or the cages are added.
Leave a comment:
-
RD & Gwyn's In-Town Homestead
Okay, okay, quit yer caterwauling! Finally got my phone and photobucket to talk to each other again.
I've been told, repeatedly, "pics or it didn't happen" so there will be LOTS of pics.
Some background ------ RD and I have gardened off-and-on for a number of years. He tends to specialize with tomatoes and peppers and I usually deal with the rest, although there were several years that he did it all. I have been wanting laying hens for several years.
Well, this year I'm finally getting them; so we're making the change from wanting/dreaming/reading to actually doing. I will chronicle as best I can, the good and the bad, of what we're doing. I figured I should start a separate thread as with the soon to be added chickens, we will no longer "just" be gardening. So here goes.
I left off posting pics in the Gardening thread with the hauling of topsoil to complete a new (additional) raised bed. Well, this is what it looked like the next morning after the dogs got through having their fun
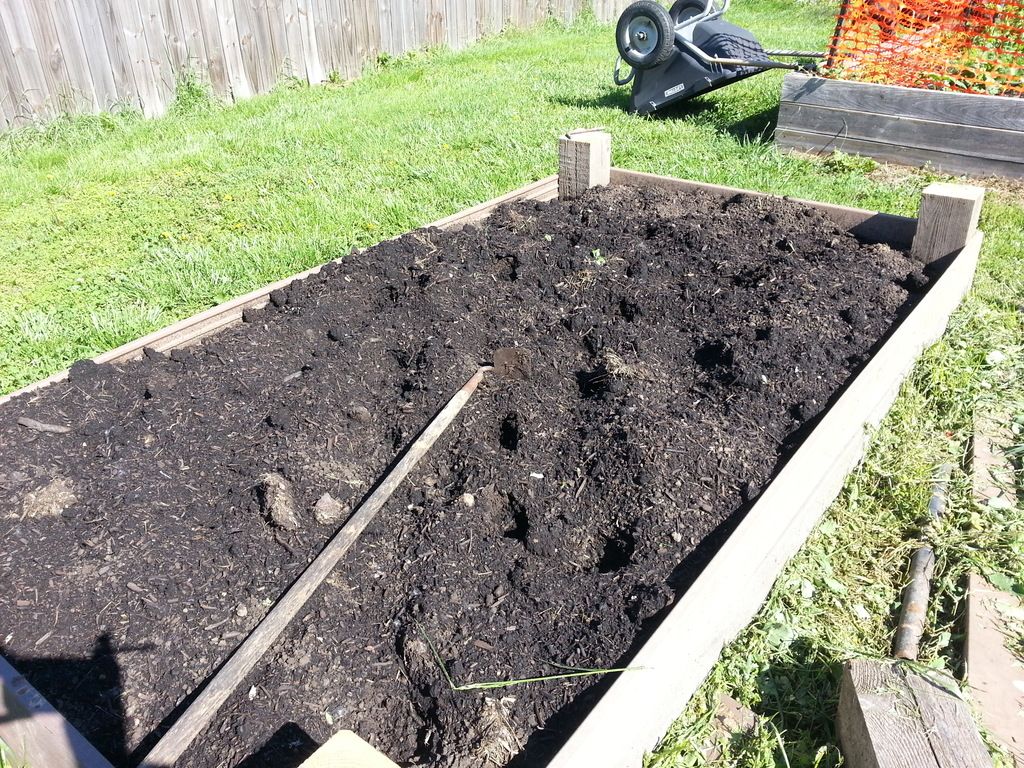
This is what the North bed looked like
Here is part of our back fence "area" before I started going to town whacking weeds, trying to clean up overgrowth, and marking out where post holes need to be dug for the chicken run fence.
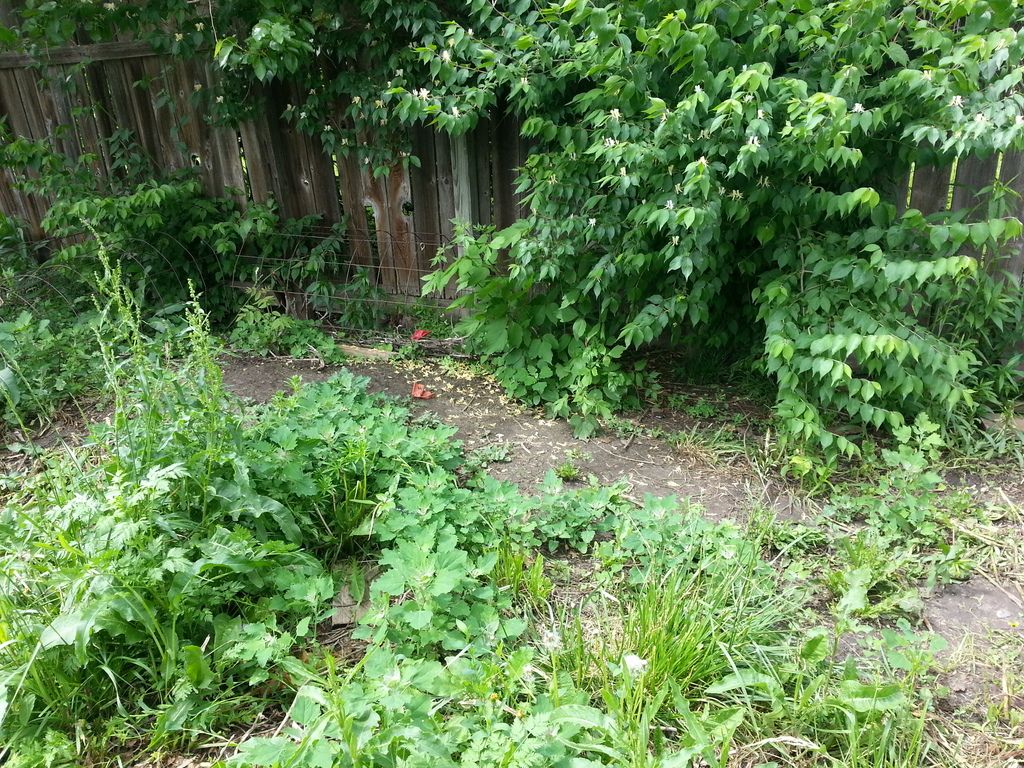
That big bushy thing in the middle of the previous pic, with the pretty white flowers, is a honeysuckle. That dang thing is new THIS year! It actually grew up inbetween parts of the fence and started separating them. Here's after I cut most of it back trying to find the root base.
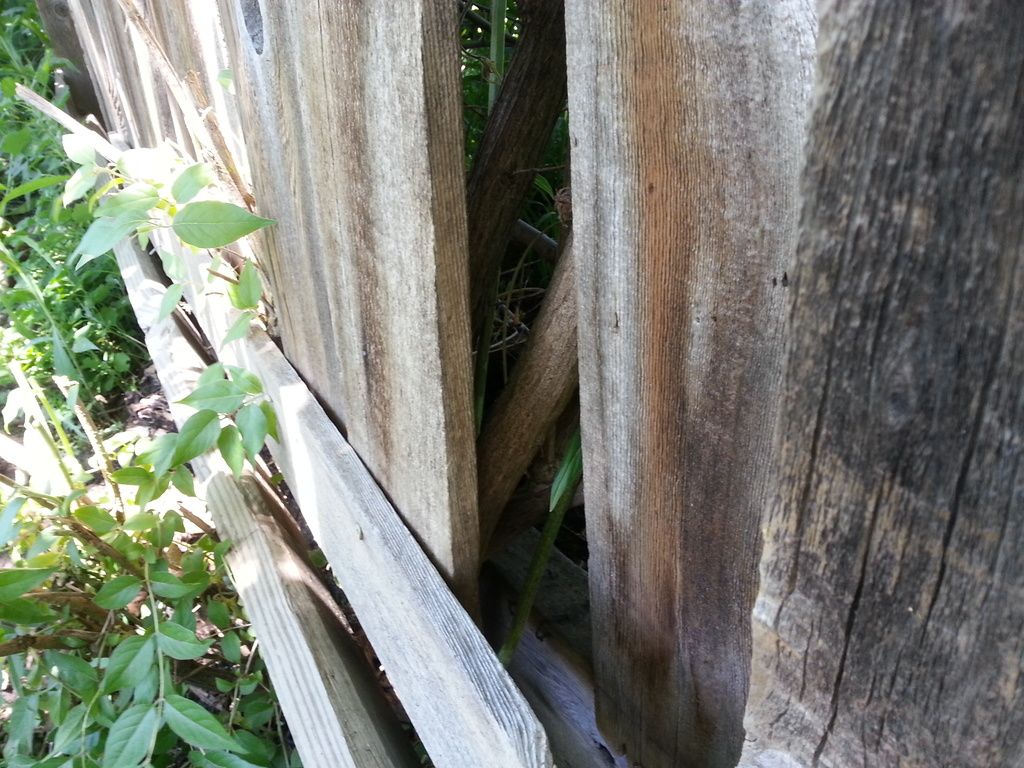
Here's the base, at the ground. I had to have RD take a chainsaw to it to get it out of there
After that, I started to proceed to attempt to dig post holes. Here's what I ran into. That stuff is also why we had to use raised beds.
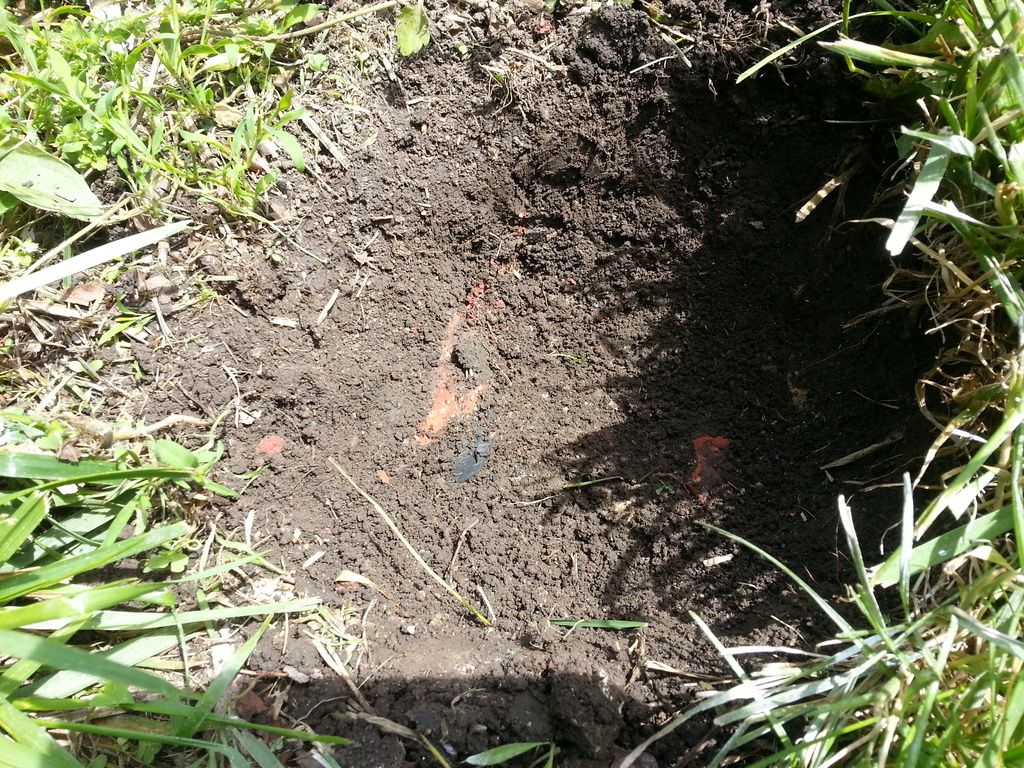
Thankfully, of the 9 marked holes, I only ran into issues with 4 of them. Here's the neat post hole auger I used (Thanks Papa). It works slicker than snot, as long as you don't run into brick or concrete slag.
Here's where I stopped for the day, this past Monday. I was stymied as to how to break the bricks out so I could finish the post holes. Plus I was tired and SORE.
 Last edited by Gwynmael; 05-15-2015, 04:24 PM.


Leave a comment: